Wednesday, 1 October 2014

Personalised Wedding Card

Today I wanted to show you a Wedding Card I made a while ago for a lovely couple Ashley and Dean. Ashley actually used to babysit me when I was younger :p 
All of the text is embossed using a papermania silver embossing powder and I added some pearls as decoration. The frame was from a Gorjuss stamps set which I stamped in a grey ink and then fussy cut it out. I then matted this onto some plain black card so it stood out from the card blank and cut it out again. Lastly I mounted it with foam tape onto a white card blank.

Sunday, 14 September 2014

Twitter

Just thought I'd do a bit of shameless plugging for my twitter account :P 
If any of you lovey people engage in the land of twitter and would like to go over and follow me I'll leave links to both of my twitter accounts below:

 Personal: @hayleyq
Hidden Quirks: @hiddenquirks


Wednesday, 10 September 2014

Masculine Birthday Card using Avery Elle Brushed

Hello folks, today I would like to share an (almost) one layer card with you.

I wanted to experiment using my new Avery Elle Pigment Inks and I chose the Brushed stamp set, also by Avery Elle, to create this card. 

The inks colours I used were Lemon Grass, Aquamarine, Mint to Be & Sapphire to give a more masculine feel to the card. I stamped these colours using the various brush stroke and ink splatt stamps.

I then stamped the "happy birthday" greeting in some black pigment ink from dovecraft and attached the panel to some kraft cardstock.

VoilĂ .
 

Products that I used:

Saturday, 6 September 2014

My First Ever Mama Elephant Purchase!


Hello there! Today I wanted to share with you my very first Mama Elephant purchase! I must say this does make me very excited indeed! I have loved Mama Elephant products for ageeeess, but being in the UK it is hard to get ahold of them without having them shipped from the USA. 
 
However, there is an online shop based in my hometown of Sheffield here in the UK called Make the Day Special which sells all of the hard to get products from America. You have to be quick though! :P

Here is what I purchased, arent they beautiful!


The stamp sets I purchased from left to right are: 


Thankyou for stopping by!

Wednesday, 3 September 2014

Shaped Christening Cards

Hello there! Today I'm going to share some personalised christening cards with you that I made for a friend. I shaped them to look like a babygrow and a dress and one was for a boy and the other for a girl. 

Hope you like them, any questions don't hesitate to ask :)


Friday, 29 August 2014

Review | Avery Elle Pigment Inks

Hello!
I've been wanting to purchase some new inks for a while as I don't really have a colour selection at all. So, I'd saved up some money and finally bit the bullet and purchased the full set of Avery Elle Pigment Inks. In the UK these are quite hard to get, as are pretty much all american brands, so I had them shipped directly from the USA, they actually turned out to be a MASSIVE bargain which made me rather happy :p

Regardless of the bargain, I opted for these inks to try as the set contains a good range of colours, and there aren't too many colours so I couldn't buy them all in one go. I wanted a good solid set of colours, without having to decide which ones to buy and, unless Avery Elle Bring out any other colours, I now have a complete collection. 

The colours from left to right are: 
Cherry, Mimosa, Mint To Be, 
Sapphire, Sea Glass, Fizz,
Pixie, Aquamarine, Raspberry,
Celery, Sugar Plum, Lemon Grass,
Fog, Pure White, Orchid

After receiving them I had a little bit of a play and made myself a little swatch colour chart using the Avery Elle Petals and Stems stamp set. 


The inks stamped out well and had a good even coverage. I've never stamped using pigment inks before so this was a bit of a test, but I'm sure I'll get the hang of it!

If you have any question about the inks don't hesitate to ask and I will try my best to answer :) 

Thankyou for stopping by!

Wednesday, 13 August 2014

Hello Buttercup

Hello there! Today I'm bringing you a card I created using some Avery Elle products. For this card you will need:
  • Kraft cardstock
  • White pigment ink 
  • Colouring pencils 
  • Avery Elle petals and stems clear stamps
  • Avery Elle Simply Said Hello stamps and coordinating die


To create this card I stamped the flowers and leaves from the Petals and Stems set in some white pigment ink. I didn't worry about overlapping the stamps or any fancy masking as I then coloured over all the images with coloured pencils, which hid it all anyway. Stamping in white and then colouring the images makes the colours more vibrant and stand out against the kraft cardstock. 

After this, I took out my cuttlebug and die cut the word 'hello' twice, once from white cardstock and once from a purple cardstock to match my largest flower. I layered these together, creating a sort of shadow effect, and then adhered to my card using the multi matte medium from Ranger. 

The last thing I did is stamp the word 'buttercup' in Versamark ink and embossed it using some white embossing powder. 

Here's my finished card:


I've also entered this card in the new Avery Elle challenge over at their challenge blog, this time the theme is Kraft, so this fit perfectly. Go check it out :) 

Avery Elle Challenge Blog


Thankyou for stopping by!


Thursday, 31 July 2014

Avery Elle Haul - July 2014


Let me kick off this post by apologising for being away for so long. I was completely taken in by revision for my Uni exams, then doing my exams, I was then free for 4 days before I started work. My shifts at work are coming to an end so I'm back!

Now to the fun stuff. I thought I would try something different and do a haul. I've never done one before but I really enjoy watching and reading about what other people have bought. I find it somewhat inspiring when I come to purchase new products and thought that I could inspire some other people with mine. So, here goes...


Avery elle products are quite difficult to get your hands on in the UK and so I did have to wait a while for these to arrive as they were shipped from the USA, but here they are in all their beauty. I purchased 
:

Red & Goldie Clear stamps
Red & Goldie Elle-ments Dies
Petals & Stems clear stamps
Petals & Stems Elle-ments Dies
Handwritten Notes clear stamps 
Brushed clear stamps
Oh Happy Day clear stamps 

I will do some posts to show what I've made with these new products in the future, so keep an eye out :) 

Does anybody else love Avery Elle products as much as me? I've ordered some of the pigment inks too to give them a try. Excited for them to arrive :)

Thanks for stopping by :) x

Monday, 21 April 2014

How I made... Simple Sew Lovely Card

Hey everybody,

I thought I'd do something a little different and do a "how I made...", tutorial type blog post. Here's the card I made using the Sew Lovely collection from Docrafts

What you need:
- 5"x7" card blank & envelope 
- 12"x12" Sew Lovely Paper pack
- Lucy Cromwell clear stamp set
- acrylic block
- black ink
- metal ruler
- craft knife
- scissors
- double sided tape
- foam squares
- self adhesive rhinestones

Step 1:
Cut yourself a 4 1/2" x 6 1/2 inch piece of patterned paper. I used these measurements because I wanted a white border around the edge, but you could cover the card in your patterned paper if you wish.

Step 2:
Next I cut out one of the banners from the paper pack and stamped a sentiment onto it in black ink.

Step 3:
Next I took the 12"x12" paper that was covered in bobbins and cut out 3 of them in various sizes and colours to use as my embellishments.

Step 4:
I then added double sided tape to the sentiment, and two of the bobbins. On the third bobbin I added a foam square, just to create that little bit of dimension in the card.

Step 5:
Position and stick down the pieces, creating layers and added the raised bobbin piece last. 

Step 6: 
Next add some rhinestones for that extra bit of detail. Lastly add double sided tale to the back of the whole thing and adhere to your card blank. Here is your completed card.

Let me know what you think of this card, and Thankyou all for reading! 

Monday, 14 April 2014

Tilly Daydream Cards

Recently I bought the Tilly Daydream Ultimate Card Kit. They had it in The Works and I saw and fell in love with the collection. After I bought it I found out it was a complete bargain and I actually got it for about half of the RRP!

Here are some cards I made from the kit:


Saturday, 12 April 2014

New Baby Girl Card - Custom

Here is a request for a card I had from a lovely lady that has had a couple of cards from me. She wanted a New Baby Girl card and here is what I came up with:
Products I used: 
  • Forever Friends Kraft Notes 12''x12'' Paper Pad (Backing Paper & Words)
  • Dovecraft Garden Party 6''x6'' Paper Pack (Pram and Banner)
  • First Edition Blank Canvas 8''x8'' Paper Pad (Wheels)
  • Pink Rhinestone Gems
  • Red paper from crafty stash (hearts)
  • Paperchase Creative Stamps - Clear Alphabet stamps (New baby girl)
  • Dovecraft Mini Alphabet Stamps (Evelyn Rose)

Thankyou for reading :) x

Thursday, 10 April 2014

Custom Cards

Sometimes I get requests from people to make a special card for them. I work with the customer and figure out what it is they are looking for, i.e. theme, sentiment, colour sheme etc.

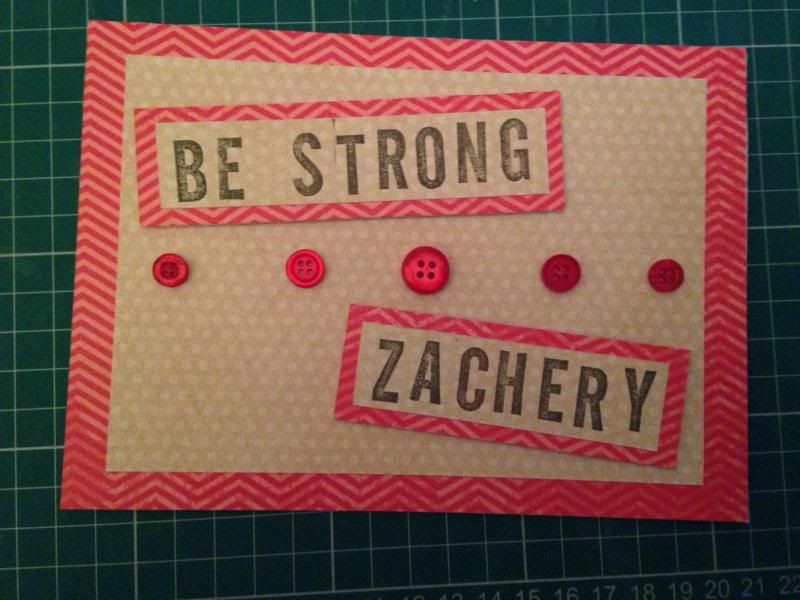
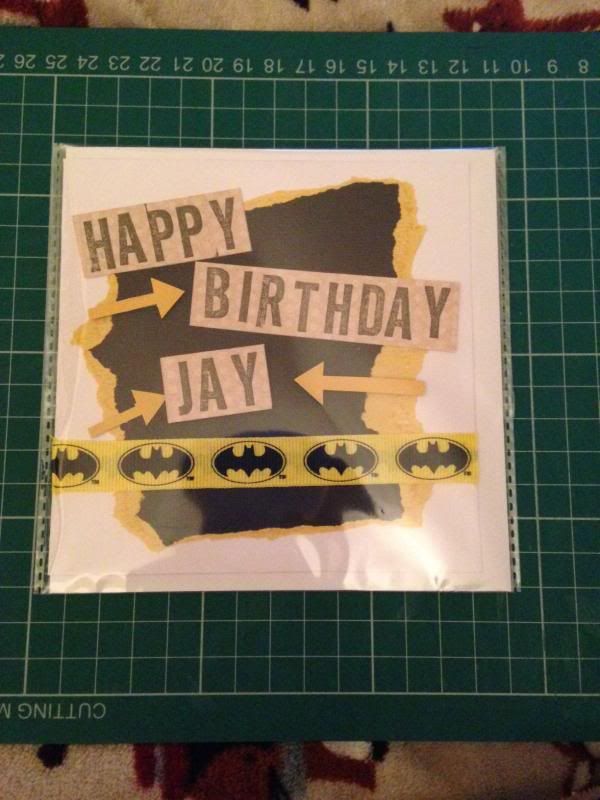
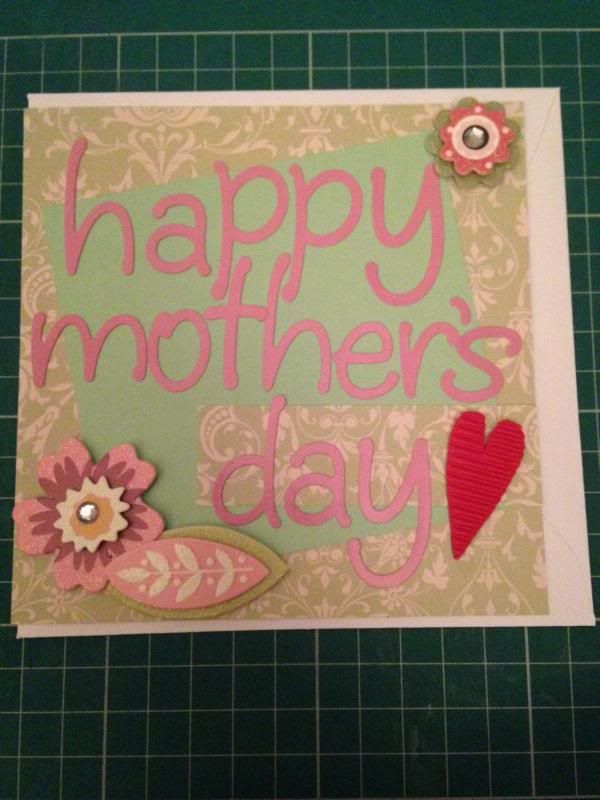
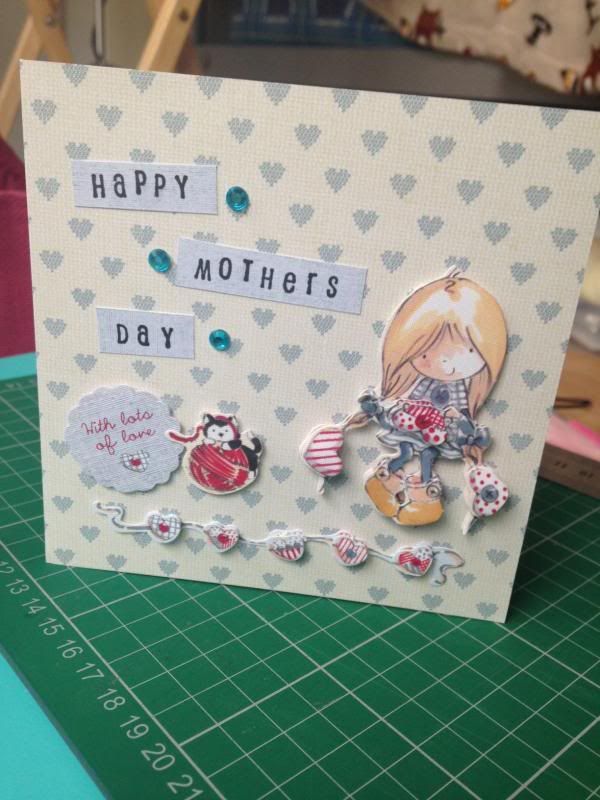
Here are a few examples of personalised cards I have made:
Hidden Quirks Hidden Quirks Hidden Quirks Hidden Quirks Hidden Quirks Hidden Quirks Hidden Quirks

Tuesday, 8 April 2014

Pinterest - Personal Account

I just love Pinterest, that is the only way to say it! It is filled with so much inspiration on pretty much any crafty project you would like to take on. But it's not just that, there are so many different topics you can browse through. 

Here are the current boards I have on Pinterest as an example:

If you would like to follow my personal account on Pinterest it is

I also have a Hidden Quirks one that is in the process of being filled, I will do a feature in that when it is finished. If you would like to follow that one, it's

Thanks for reading :) x